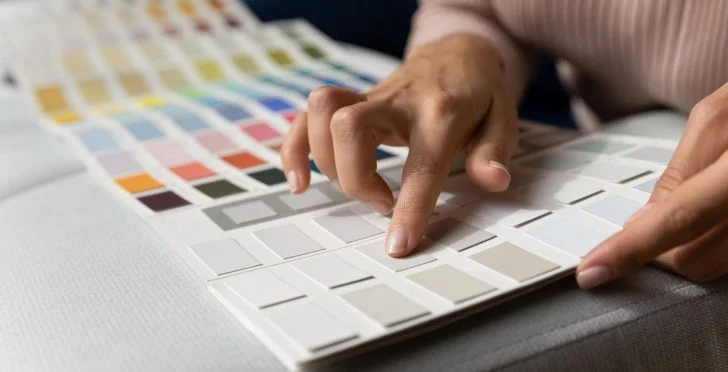
A fresh coat of paint can completely transform a space—but only if the prep work is done right. Whether you’re taking on a DIY painting project or hiring professionals like Paint Corps, how you prep a your home for painting has a direct impact on how smooth, even, and long-lasting the results will be.
Skipping or rushing through prep can lead to:
Peeling or flaking paint
Uneven coverage or blotchy patches
Visible imperfections like nail holes or grime
Messy lines around trim and ceilings
That’s why proper preparation is more than just a nice-to-have—it’s essential.
In this guide, we’ll walk you through a step-by-step homeowner checklist for prepping your space before the first brushstroke. These tips will help you save time, protect your home, and get a final result that looks polished and professional.
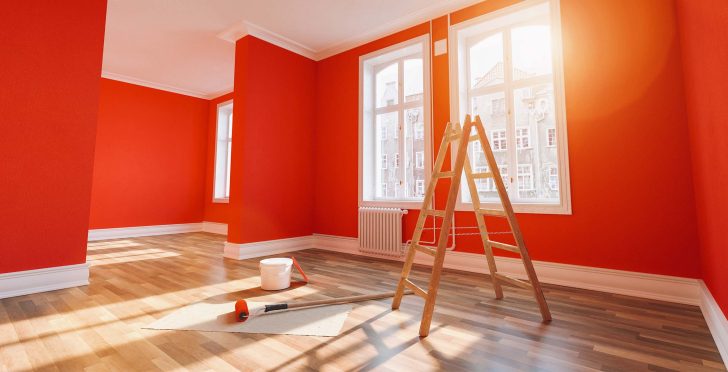
Remove furniture, rugs, and decorations from the room entirely, if possible. If not, move large pieces to the center of the room and cover them securely.
Take down wall art, clocks, mirrors, or shelving.
Remove curtains, curtain rods, and window treatments.
Unscrew outlet covers and light switch plates (pro tip: keep screws taped to the back so you don’t lose them).
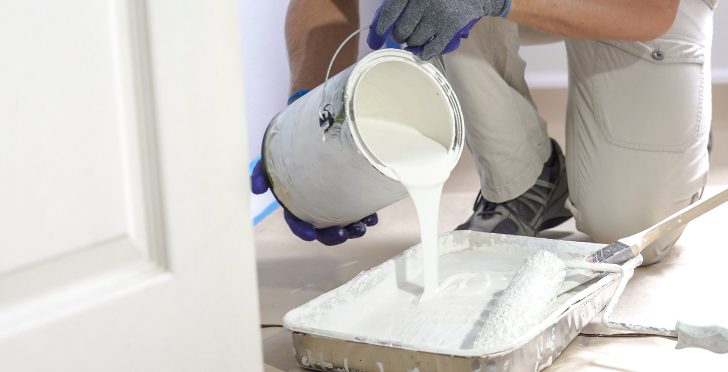
Lay down canvas drop cloths or plastic sheeting to protect floors. Avoid old sheets or towels—they can let paint seep through.
If you’re hiring a professional painting company like Paint Corps, our crews will handle all surface protection and furniture prep for you. But if you’re DIYing it, this step is where your attention to detail starts to pay off.
By creating a clean, open space to work in, you’re setting yourself—or your painters—up for a faster, cleaner, and more efficient project.
Step 2: Clean the Walls and Surfaces
It might not be visible at a glance, but your walls collect a surprising amount of dust, grease, and residue—especially in kitchens, bathrooms, and high-traffic areas. If you skip cleaning, that buildup can prevent paint from sticking properly, leading to poor coverage or flaking down the line.
To prep the surface the right way:
Use a mild soap-and-water solution or gentle wall cleaner to wipe down the walls.
Focus on areas near light switches, baseboards, behind furniture, and where hands or pets commonly touch.
For greasy spots (like near stoves or vents), consider a degreaser like TSP substitute (trisodium phosphate alternative).
Rinse with clean water if needed, and let the walls fully dry before moving to the next step.
Also don’t forget about the ceiling, baseboards, doorframes, and trim if those will be painted too. A quick once-over with a microfiber cloth or sponge can help prevent debris from getting caught in your new finish.
At Paint Corps, surface prep is part of every project. We make sure everything is clean, dry, and ready to hold paint, so you don’t end up with problems down the road.
Step 3: Repair Damage and Tape Off Edges
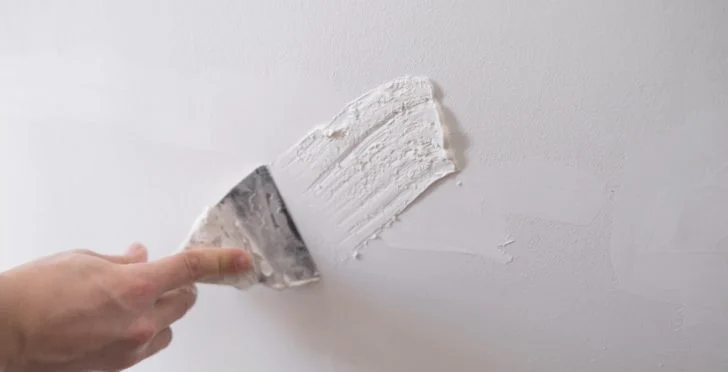
Once your surfaces are clean and dry, it’s time to fix any visible flaws. Even the best paint can’t hide nail holes, dents, or cracked corners—prep is where those imperfections get addressed.
Start by inspecting the walls for:
Nail holes or pushpin marks
Small dents or scratches from furniture or general wear
Cracks around trim or corners
Peeling old paint or rough spots that need sanding
Use a lightweight spackling compound to fill holes and shallow damage. For deeper cracks or peeling, sand down the area and apply a patch if needed. Once dry, sand smooth with fine-grit sandpaper to ensure the repaired spot blends into the wall. After repairs are done, grab your painter’s tape.
Apply tape along:
Baseboards and crown molding
Window and door trim
Ceiling edges
Fixtures or hardware that can’t be removed
Press the tape firmly to prevent paint from bleeding underneath. A clean tape job means you’ll spend less time correcting lines later, and your final result will look sharp and professional.
Hiring pros? Paint Corps crews handle all patching, sanding, and taping as part of our prep process. But if you’re painting yourself, don’t rush this stage. It’s the difference between a paint job that “looks okay” and one that truly looks polished.
Step 4: Prime (When Necessary)
Priming may seem like an optional step, but in certain situations, it’s essential for achieving a durable, even finish. Skipping primer when it’s needed can result in blotchy paint, uneven color, or poor adhesion that wears down over time.
So, how do you know when to prime?
Use a primer if:
You’re painting over bare drywall or new patches
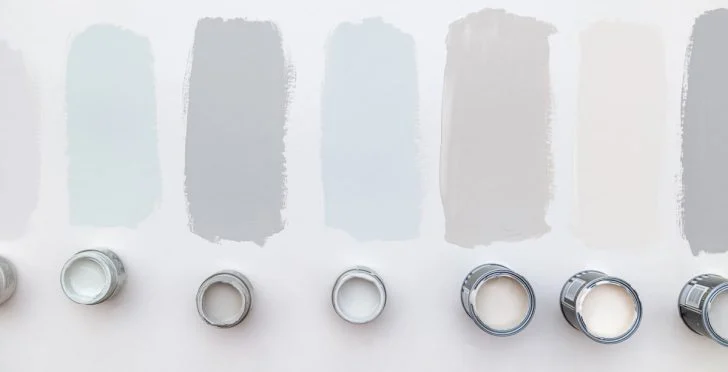
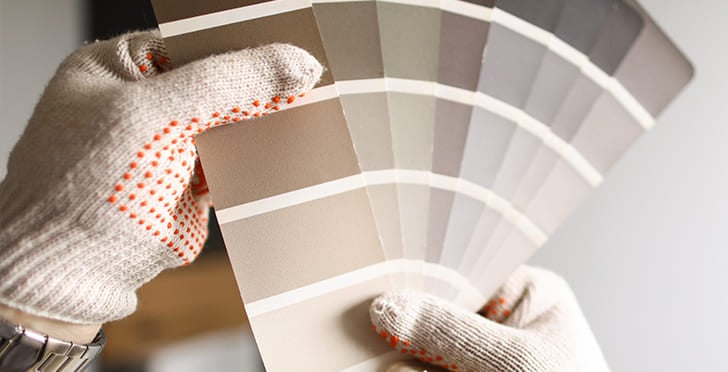
The existing color is dark or bold, and you’re switching to a lighter shade
You’re dealing with stained or water-damaged walls
The surface has a glossy or oil-based finish that won’t grab latex paint easily
You’re covering odors or surface imperfections
Primer helps seal the surface, block stains, and give your topcoat a smooth, uniform base to stick to. That means better coverage, fewer coats, and longer-lasting results.
For most interior walls, a high-quality latex primer works well. For tricky areas (like kitchens, bathrooms, or smoke-stained walls), ask your paint supplier for a specialty product—or rely on your painting crew’s recommendations.
At Paint Corps, we assess each room and apply primer where it’s truly needed. It’s all part of delivering a high-caliber finish that doesn’t just look great on day one—it still looks great a year later.
Set the Stage for a Smooth Paint Job
Painting isn’t just about the color you choose—it’s about how well you prepare. Whether you’re freshening up a single room or updating your entire home, proper prep work is the foundation of a smooth, durable, and professional-looking finish.
Let’s recap your prep checklist:
Clear the space and protect your furniture and floors
Clean walls and surfaces to remove dust, oils, and grime
Repair imperfections and tape off trim for clean lines.
Prime when needed to ensure even color and long-term adhesion
Taking the time to do these steps right—whether DIY or with a professional crew—can make the difference between a job that just gets done and one that truly elevates your home.
If you’d rather skip the hassle and let experienced professionals handle everything from prep to cleanup, get in touch with Paint Corps. Our veteran-led teams are trained to deliver exceptional results, starting with detailed prep work that ensures your new paint looks great and lasts.
We’ll bring the tools, expertise, and respect your home deserves—so you can enjoy the transformation without lifting a finger. Request a free quote today.
Burgess Perry is the Founder of PAINT CORPS® Franchise Group. After serving in the U.S. Army for nearly 10 years, Burgess began a new chapter by opening a painting company in the Tampa, Florida area. He hit the ground running and after five years of unprecedented success, he decided it was time to give back to his fellow military veterans. That's when he founded PAINT CORPS®, a veteran-inspired franchise founded on military values like service, respect, integrity, and duty.
We’re committed to your privacy. PAINT CORPS® uses the information you provide to us to contact you about our relevant content, products, and services. You may unsubscribe from these communications at any time. For more information, check out our Privacy Policy.